Enjoy the Gmail add-on in just a few steps
1. Install the app on monday.com
Installation
1. Enter monday.com marketplace.
2. Search ‘Boost Gmail for monday.com’ and click the app.
3. Click ‘Add to your account’ / ‘Use app’ (tag #3.1) (It depends on whether the app is already installed in your account).
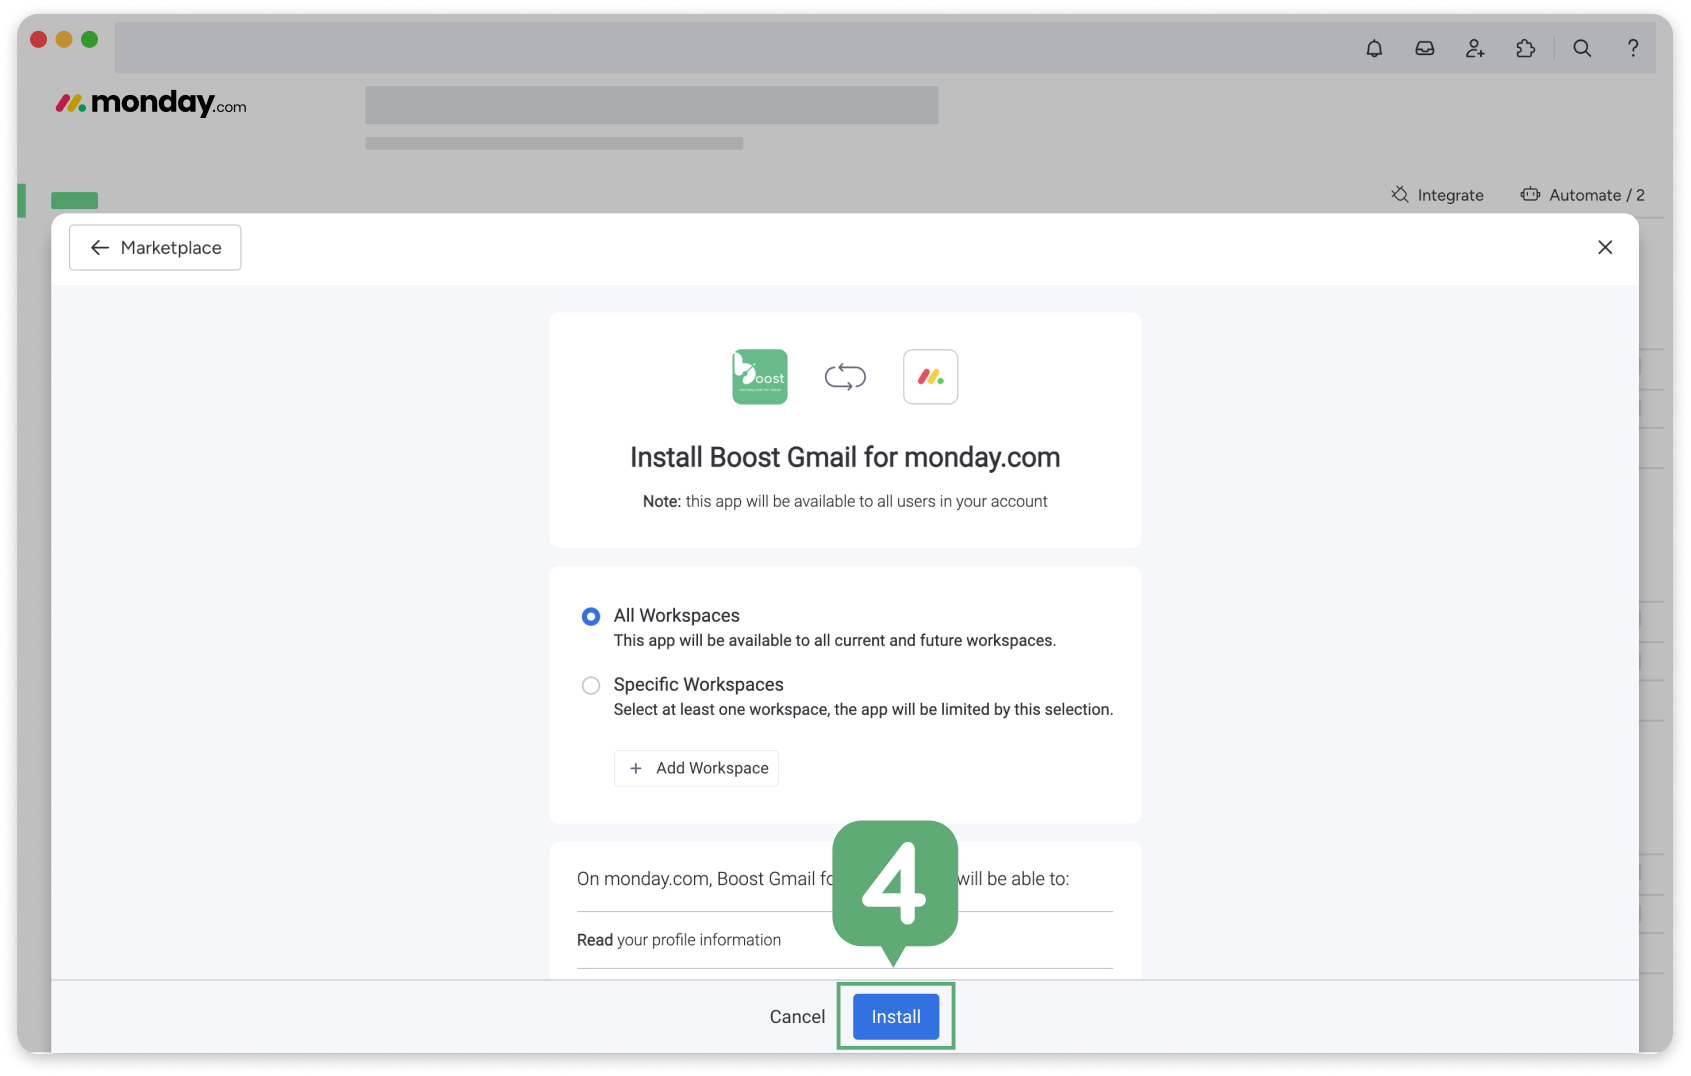
4. Choose you preferences and click ‘Install’.
2. Search ‘Boost Gmail for monday.com’ and click the app.
3. Click ‘Add to your account’ / ‘Use app’ (tag #3.1) (It depends on whether the app is already installed in your account).
4. Choose you preferences and click ‘Install’.


Add recipe to your board
1. After installation, choose workspace, board and click ‘add app’.
2. Click ‘add to board’.
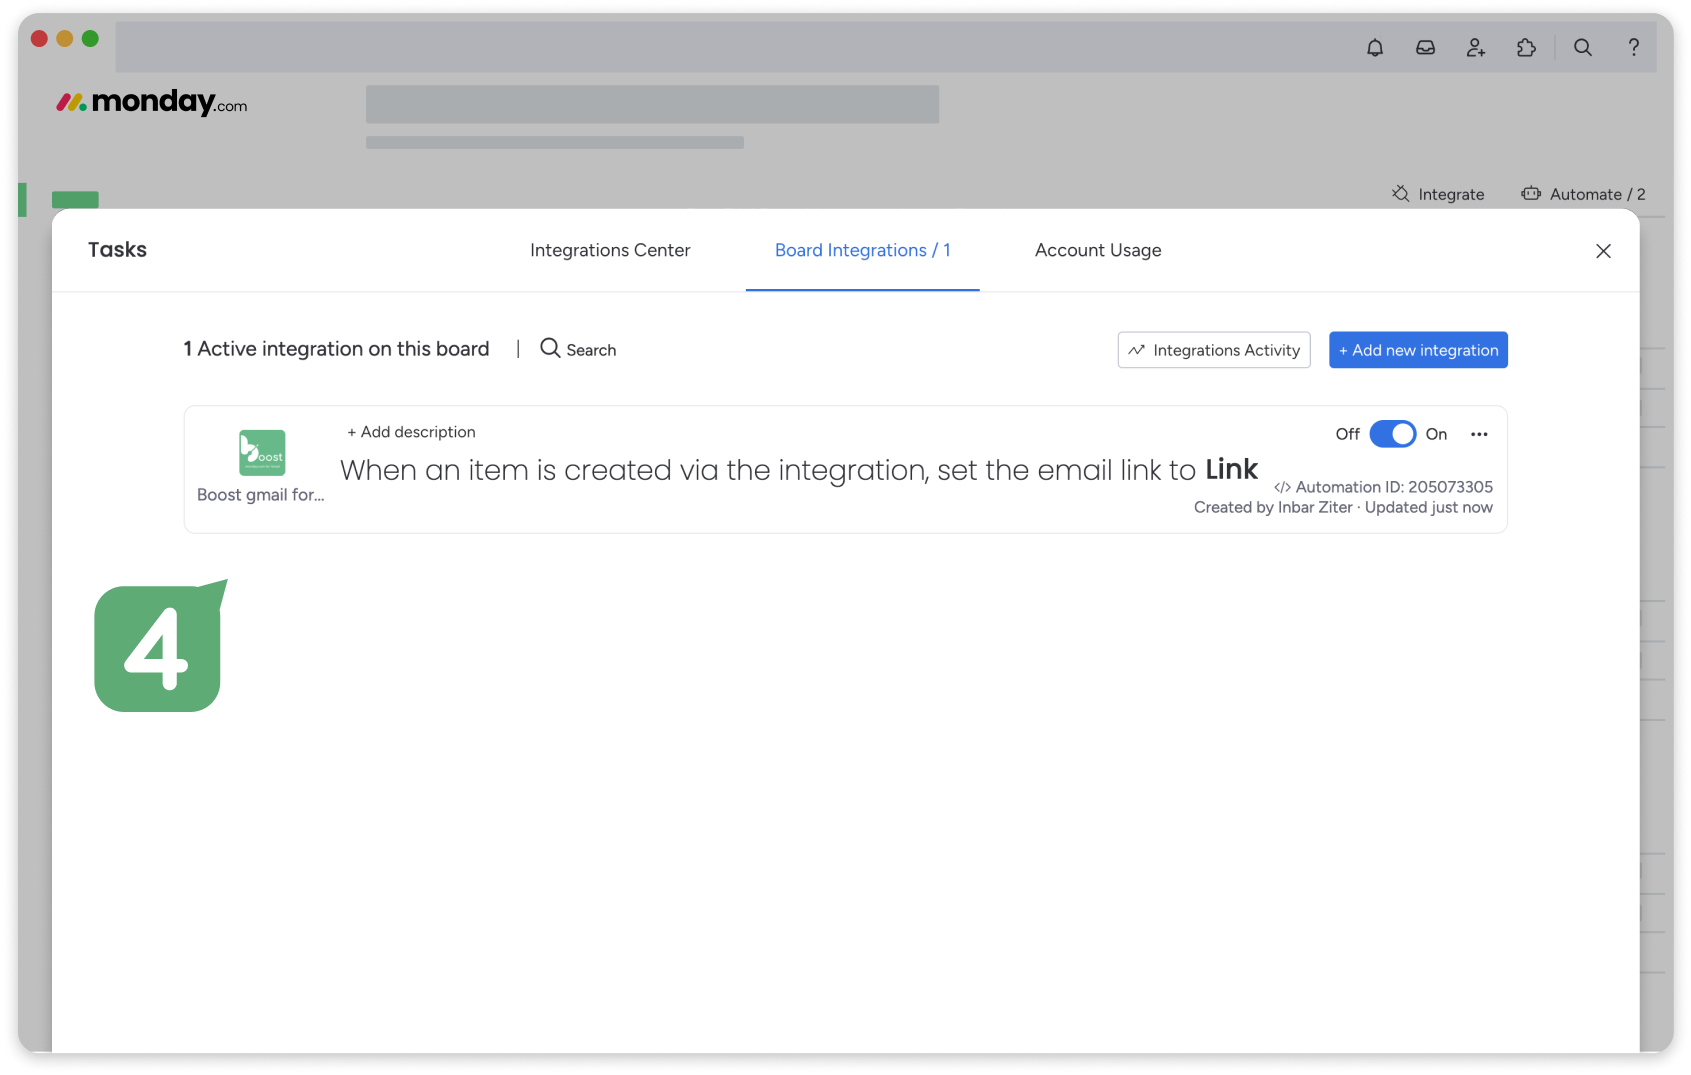
3. Choose a link column and Click ‘add to board’.
4. End of the application installation process on monday.
2. Click ‘add to board’.
3. Choose a link column and Click ‘add to board’.
4. End of the application installation process on monday.


2. Install the app on Gmail marketplace
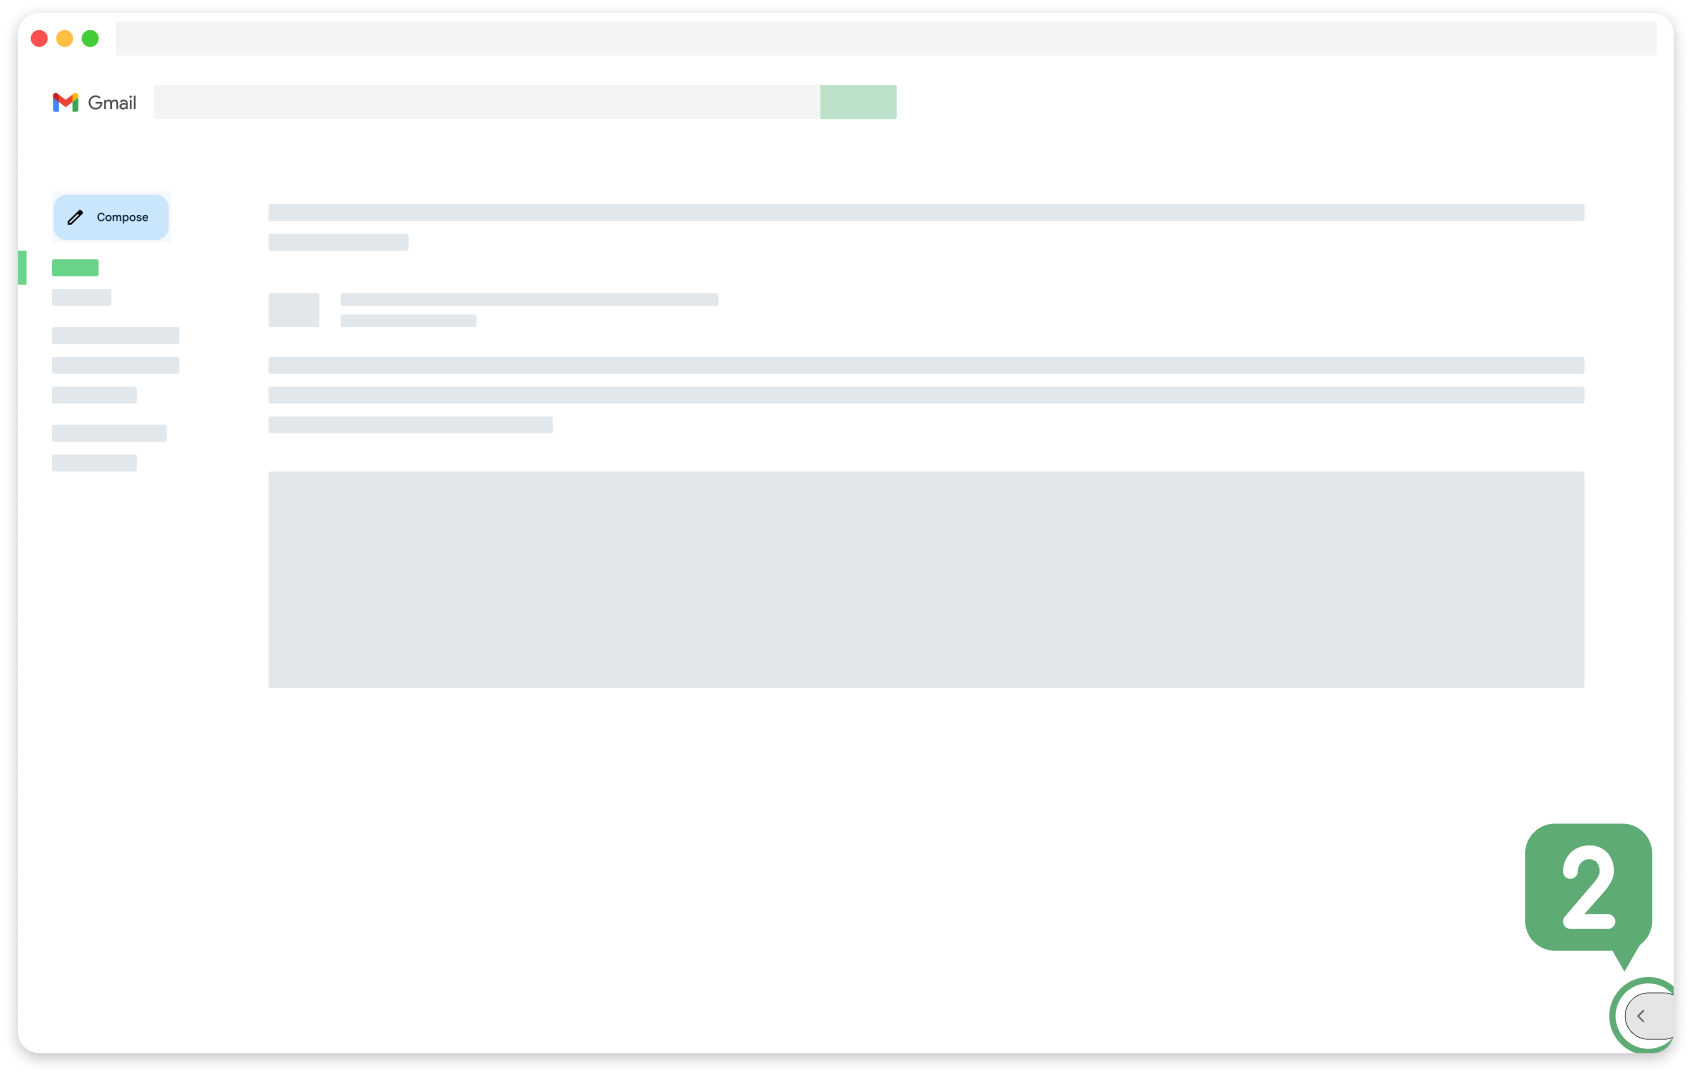
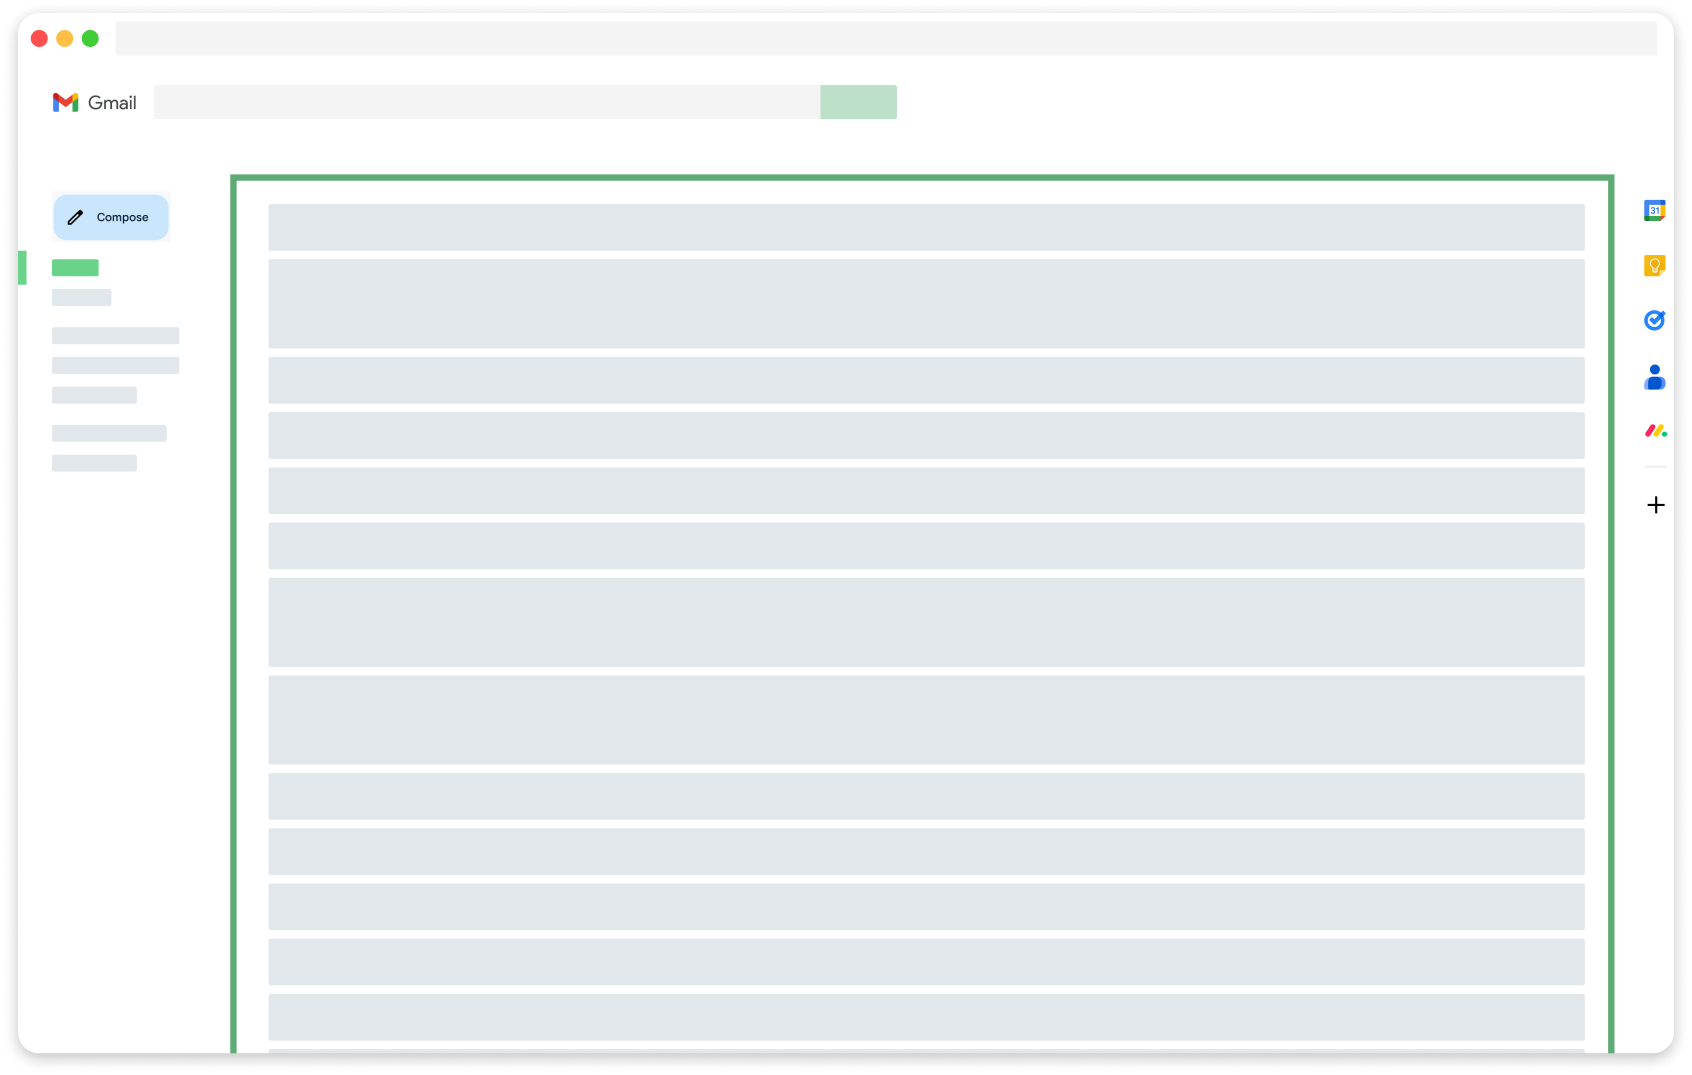
1. go to Gmail.
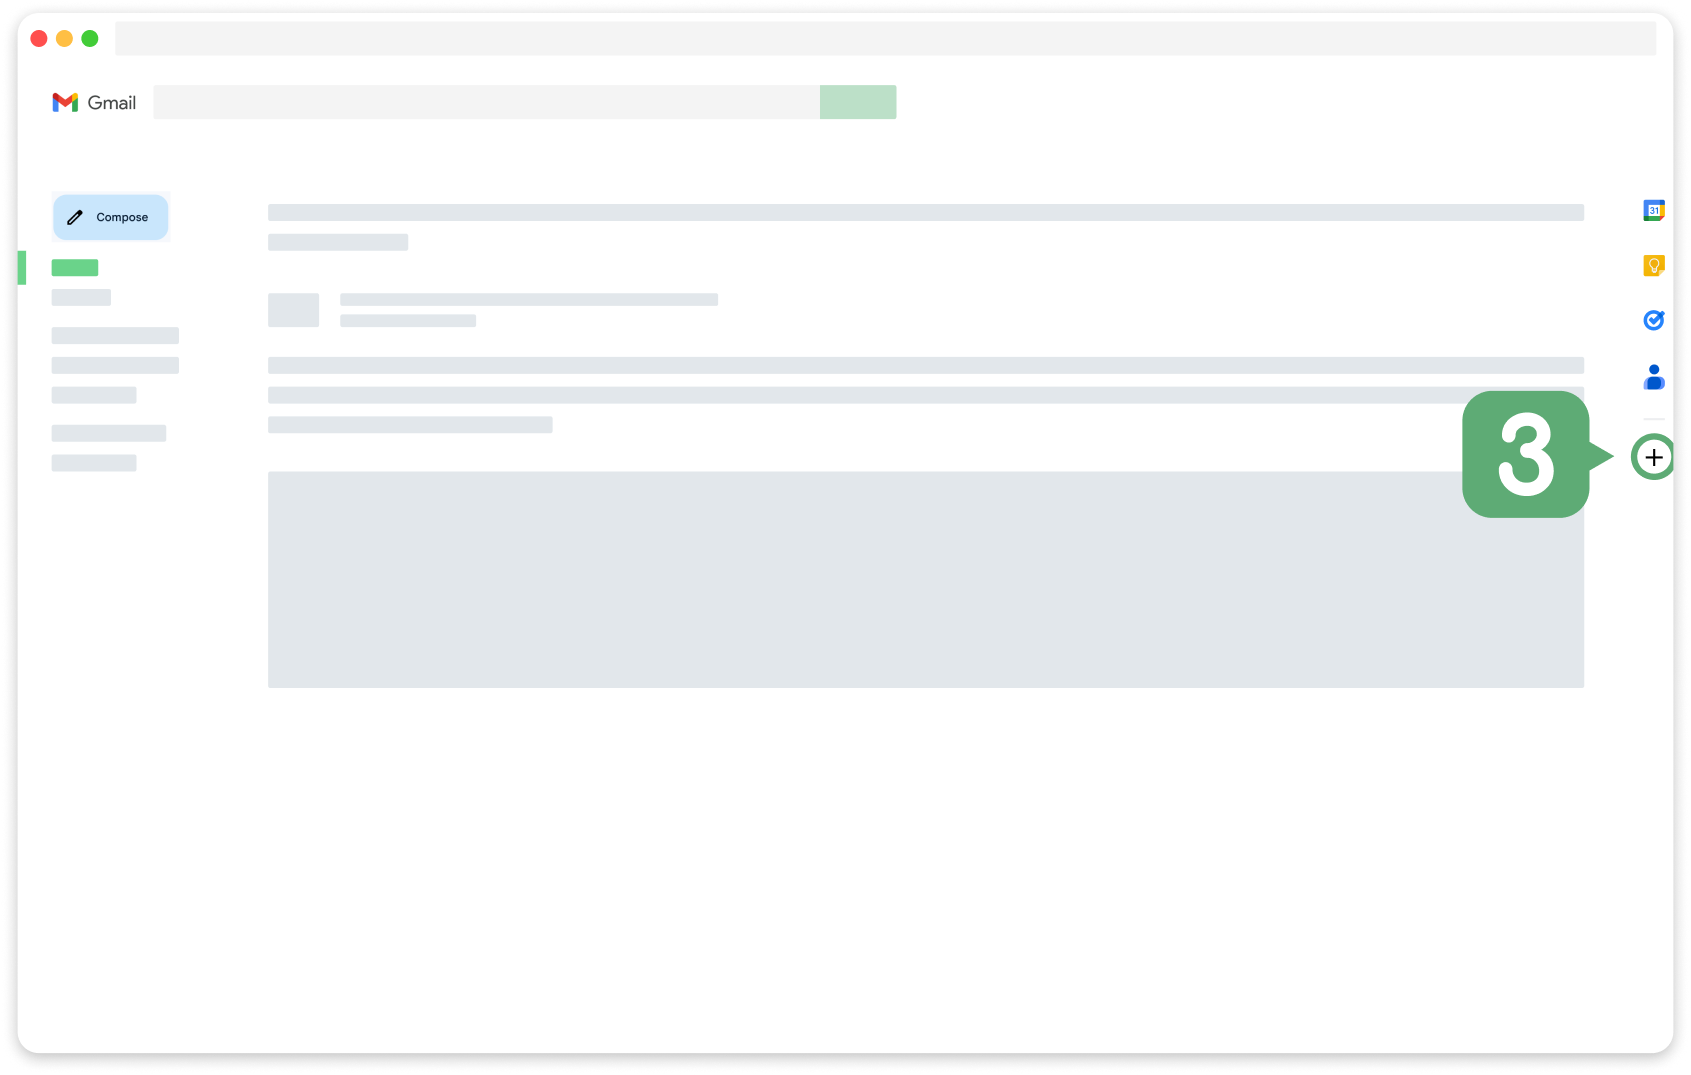
2. If the side panel isn’t displayed, click ‘show side panel’ on the bottom right.
3. On the side panel click ‘+’ to add add-ons.
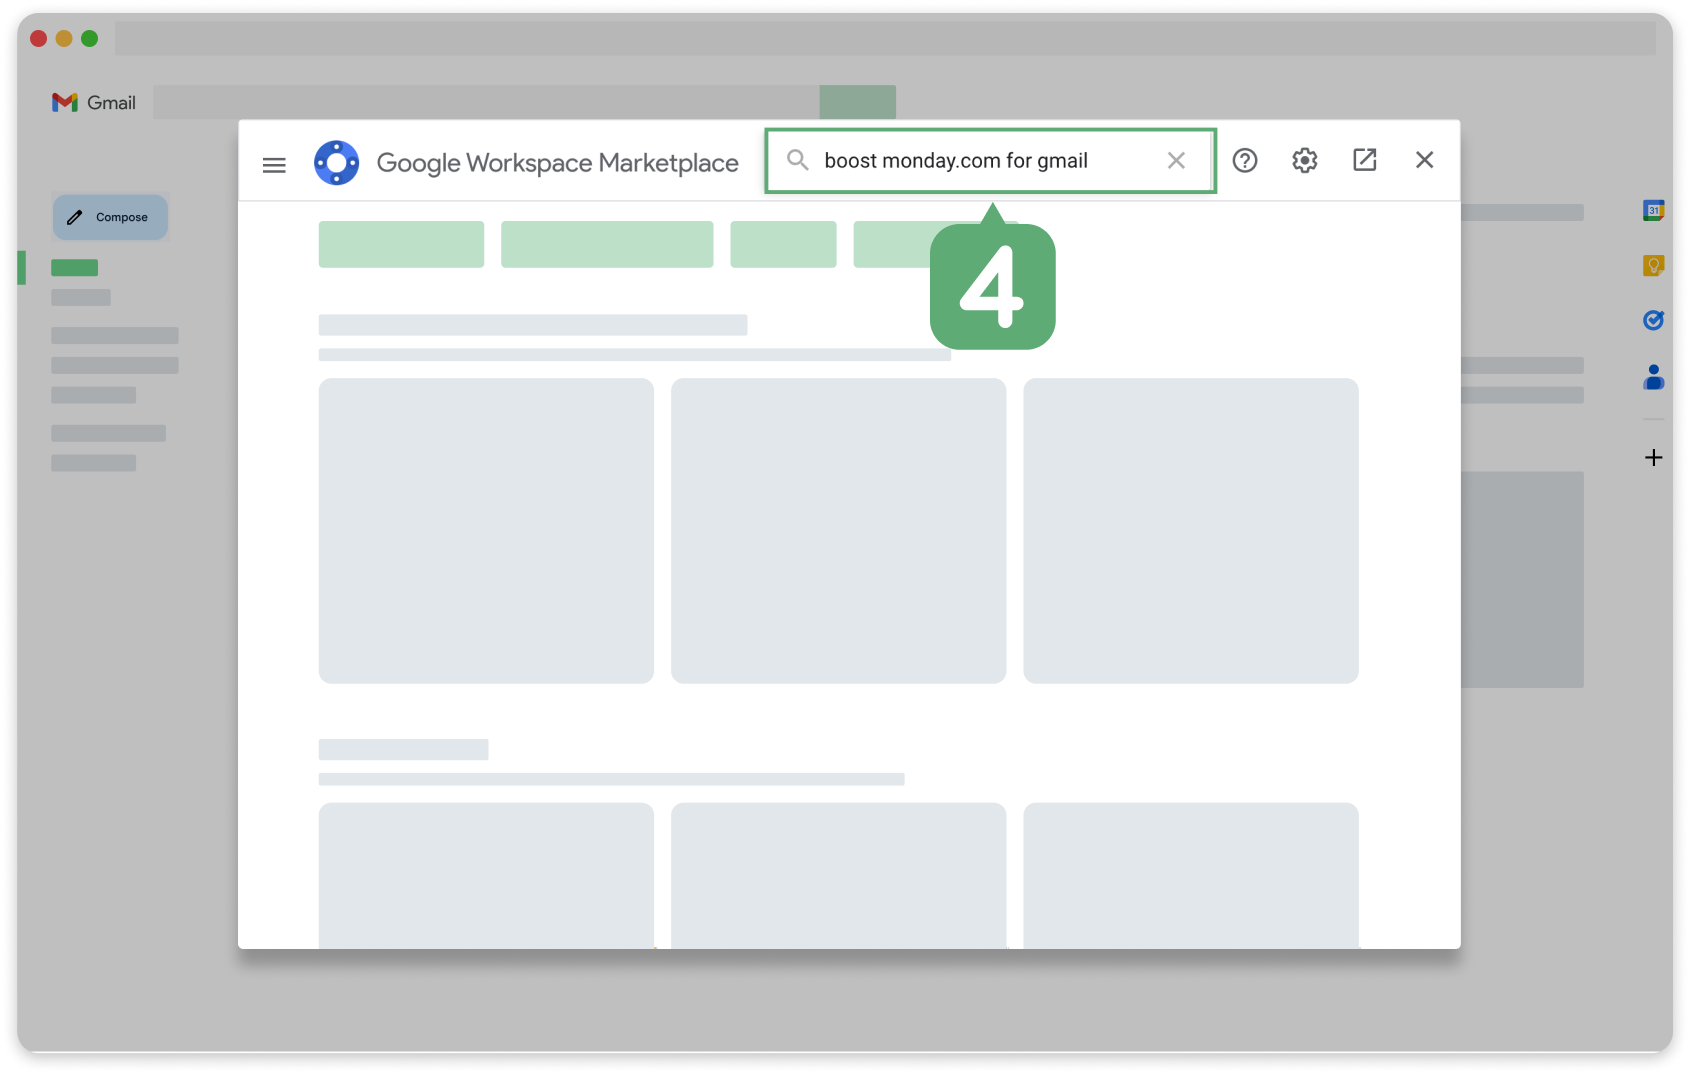
4. On the Google Workspace Marketplace search for Boost gmail for monday.com.
5. Did you receive this error message (Image 5) when you tried installing the app? Try again after cleaning your cookies.
2. If the side panel isn’t displayed, click ‘show side panel’ on the bottom right.
3. On the side panel click ‘+’ to add add-ons.
4. On the Google Workspace Marketplace search for Boost gmail for monday.com.
5. Did you receive this error message (Image 5) when you tried installing the app? Try again after cleaning your cookies.
.png)
3. Choose your default settings
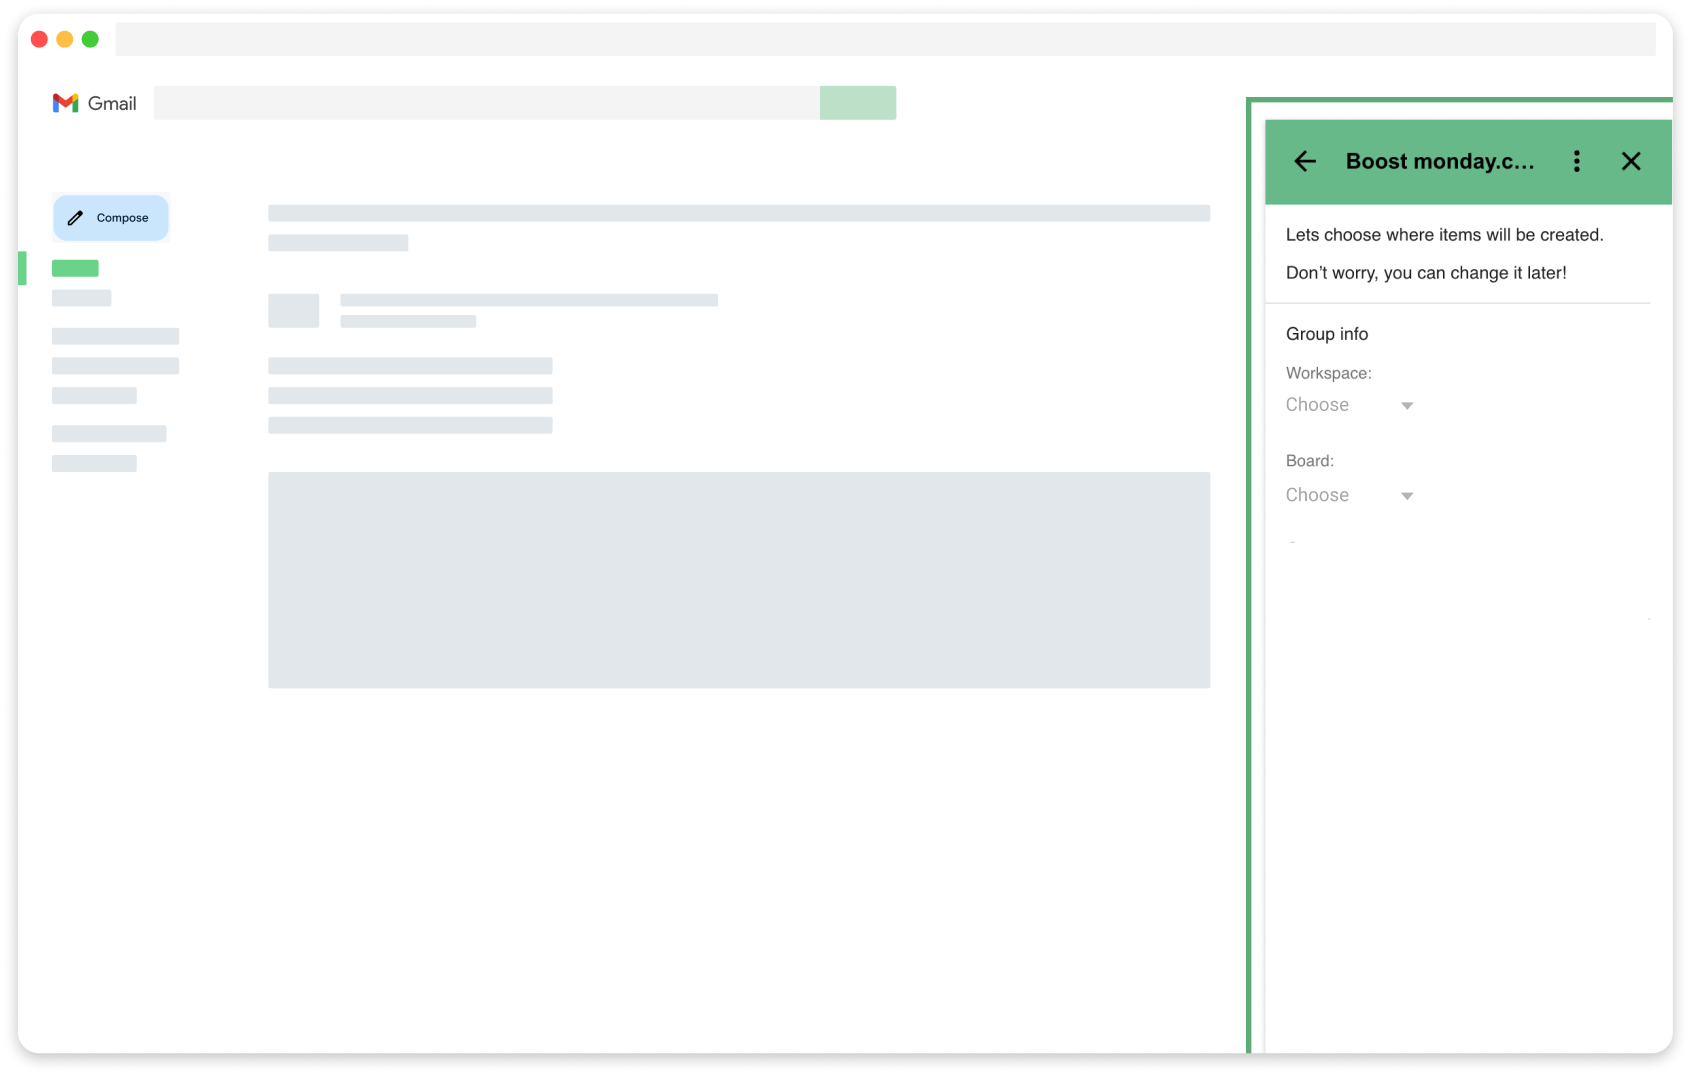
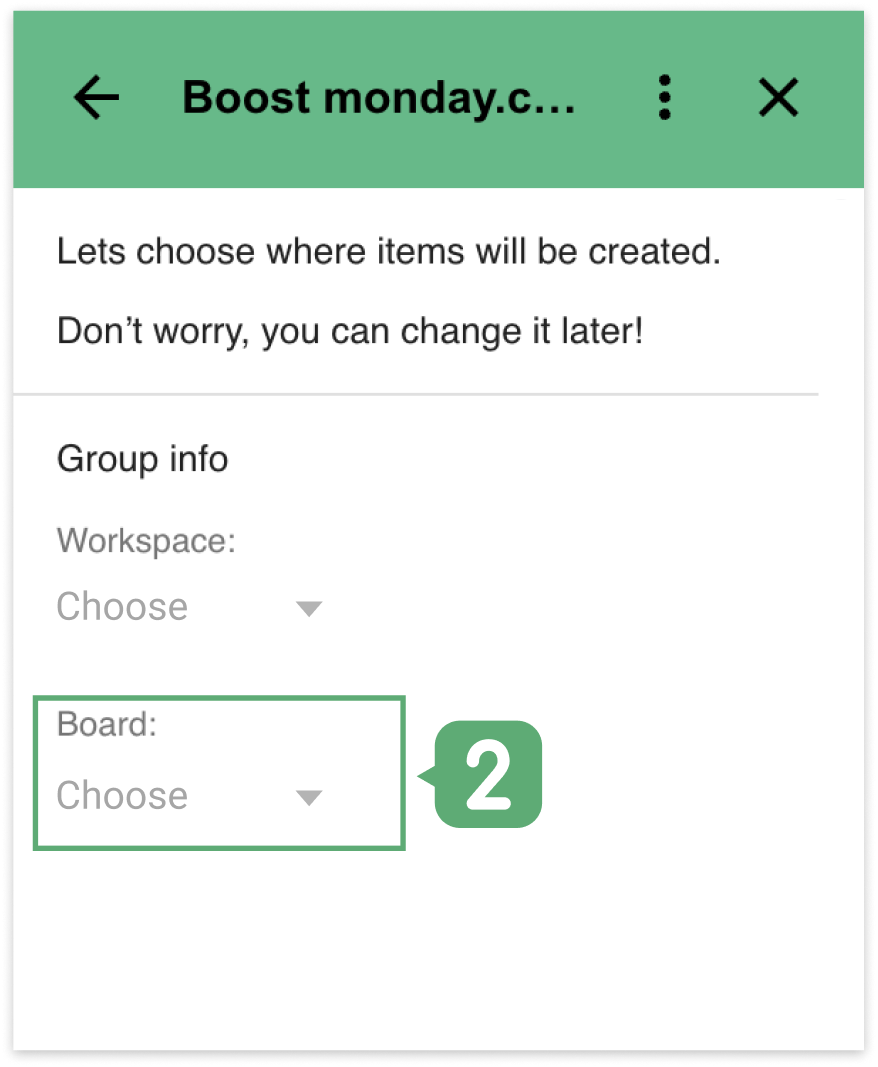
Select where the item will be created
1. Choose a workspace.
2. Choose a board.
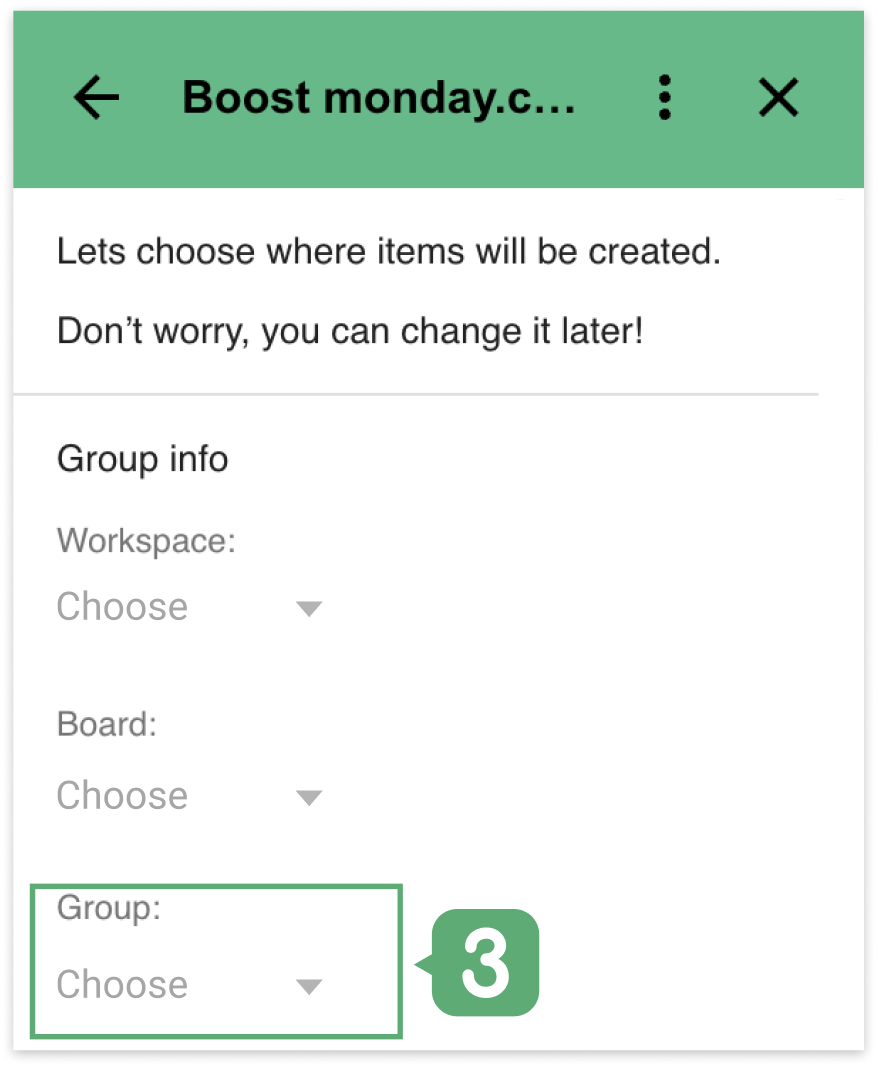
3. Choose a group.
2. Choose a board.
3. Choose a group.
NOTE:
You can change your selection by returning to the settings page and changing those values.
One monday.com account can be linked to each Gmail address.
1. Go to your inbox and open an email
2. Open the add-on

NOTE:
If you wish to change the board, go to settings to change the board on which the item will be created. when you change the board on the setting page, make sure to add the recipe to the new board so the link column can be updated with the email’s URL.
The new setting will remain for future actions.
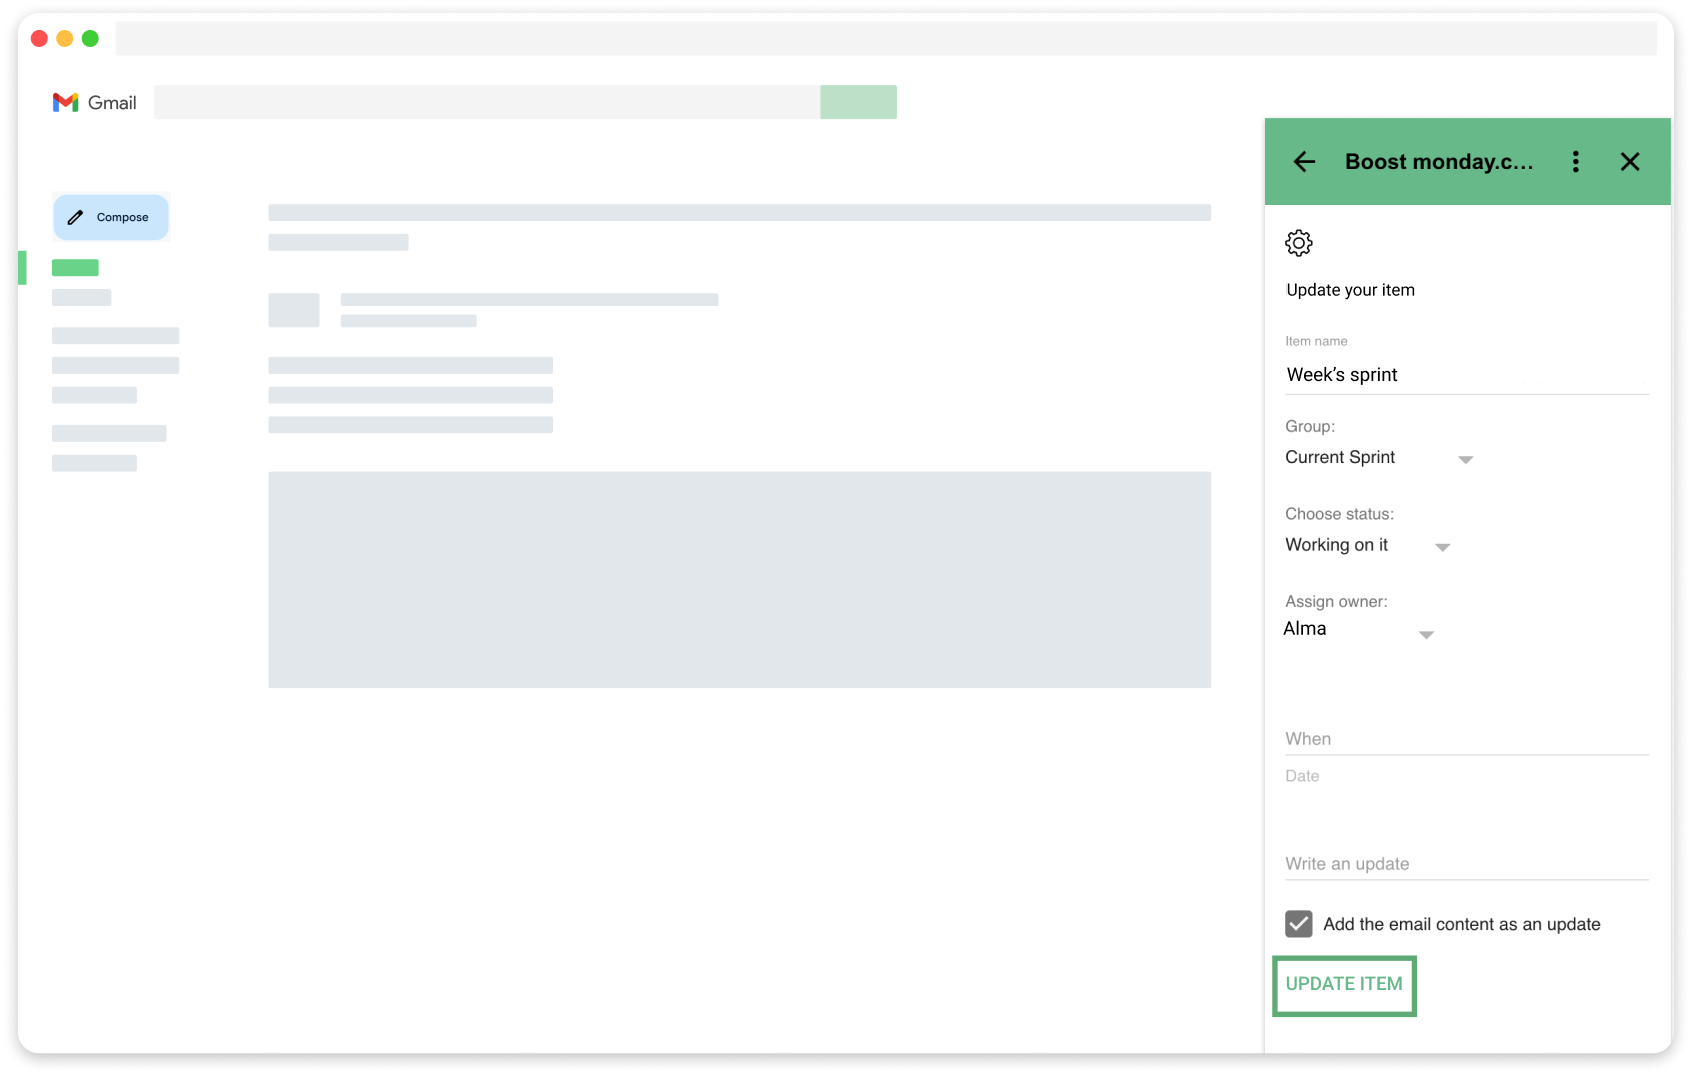
3. Edit the column’s values if needed

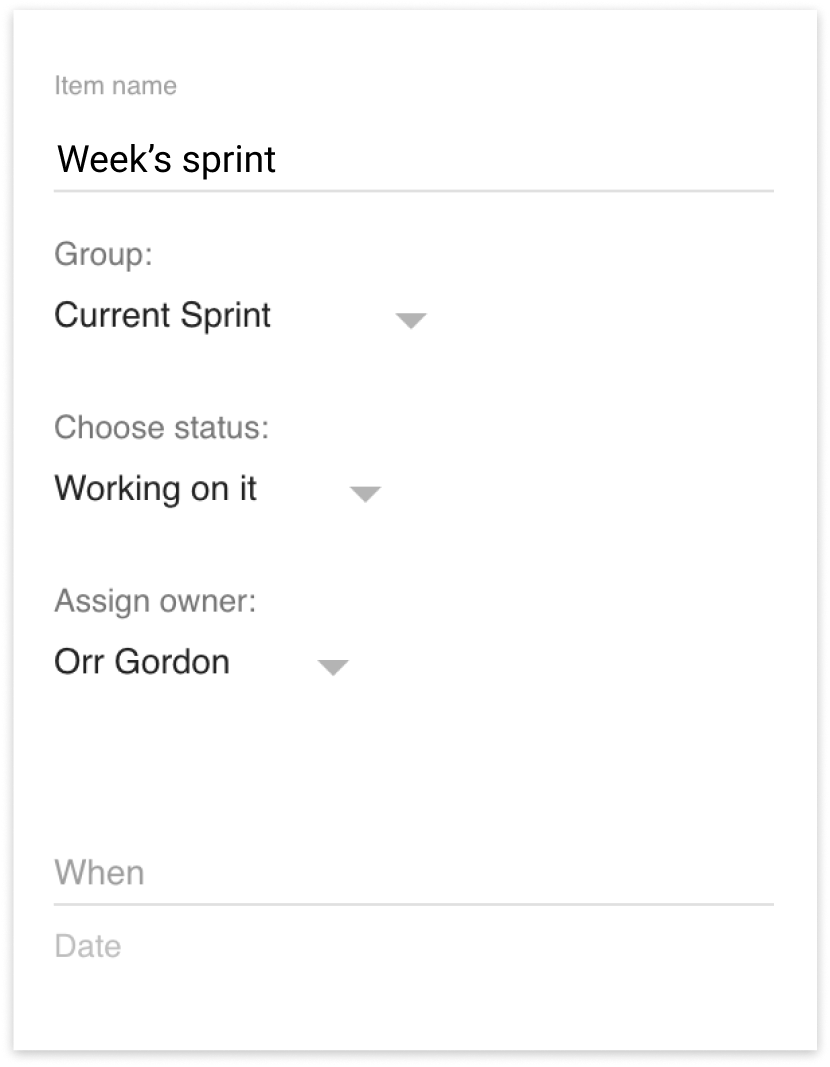
NOTE:
Go to settings to set values to different columns.
4. Click on ‘create item’ to create the item

NOTE:
A single item can be created for an email thread. After creating an item, can update the associated item when opening the email.
In case of an item connected to an email is deleted, the user can create a new item.
1. Go to your inbox and open an email
2. Open the add-on
3. The updated columns values of the item are available in the add-on


4. Edit the columns’ values if needed.
NOTE:
Go to settings to set values to different columns.
The new settings will remain for future actions.
5. Click on ‘update item’ to create the item